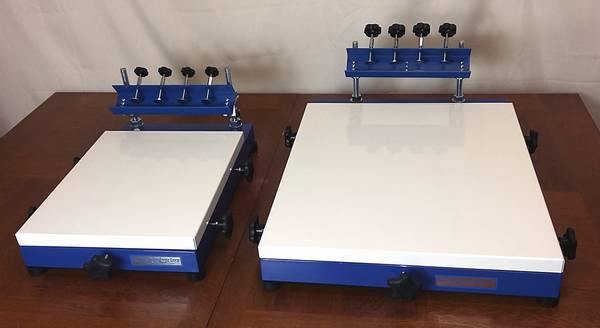
YSJ-250 and T4560
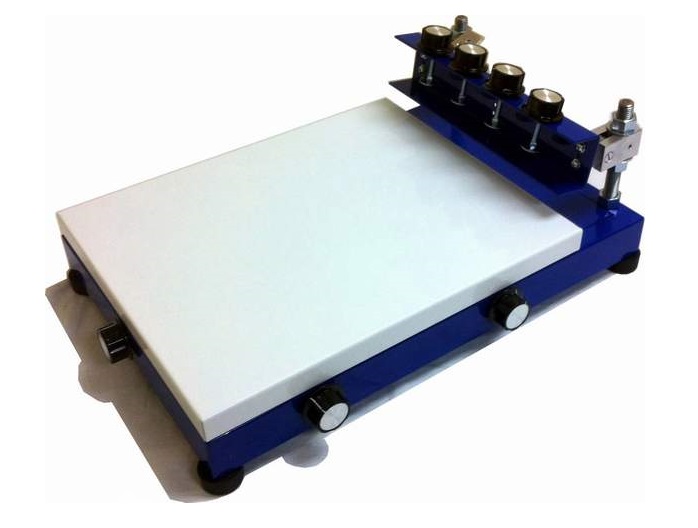
Large Size Manual Stencil Printer T4560
Price: $465

Economical solution to your PCB solder paste application problem at the
cost of a fraction of other stencil printers.
l
Working area: 400mmx500mm.
l
Max.
X direction adjustment: 20mm.
l
Max.
Y direction adjustment: 80mm.
l
Adjustment
of distance between the screen frame and the platform:
0-10mm.
l Open end, fit any framed stencils as long as the paste area is smaller
than the base.
l
Circuit boards can be aligned with slices of unused PCB boards taped on
the base, or magnetic tapes(available at Office Depot).
l
Use
framed stencils. Stencil and frame not included. They are customer items.
l
Weight: 55 lb.
Made in USA
*Squeegee not included.
Assembling of the Stencil Printer
1. Assembling: Unscrew one nut from each of the two long metal bars.
2. Align the two black metal bars with the two holes on the back of the
screen printer base. Let them go through the holes. Put the nuts back
onto the two metal bars beneath the base.
3. Adjust the position of the stencil claping fixture by moving the
nuts
on the two vertical bars up or down. It is best to check the position with
a stencil
frame.
Operation
1. Mount the stencil by tighting the four
clamps on the back of the stencil
printer.
2. Adjust the stencil printer base position with the knobs arond it.
3. Adjust X position by loosening the knobs on one side and tightening
knobs
on the other sise.
4. Adjust the y position by loosening the x-direction knobs first, then tight
or
loose the y-direction knob.
5. Fix the PCB board with slices of unused PCB boards, thin plastic
boards taped on the base, or magnetic tapes(can be purchased from Office
Depot).
6. Apply a thin layer of solder paste. Too much paste will cause short
circuits.